On-Model Product Photos for Your Boutique
By fAIshion team · · 3 min read
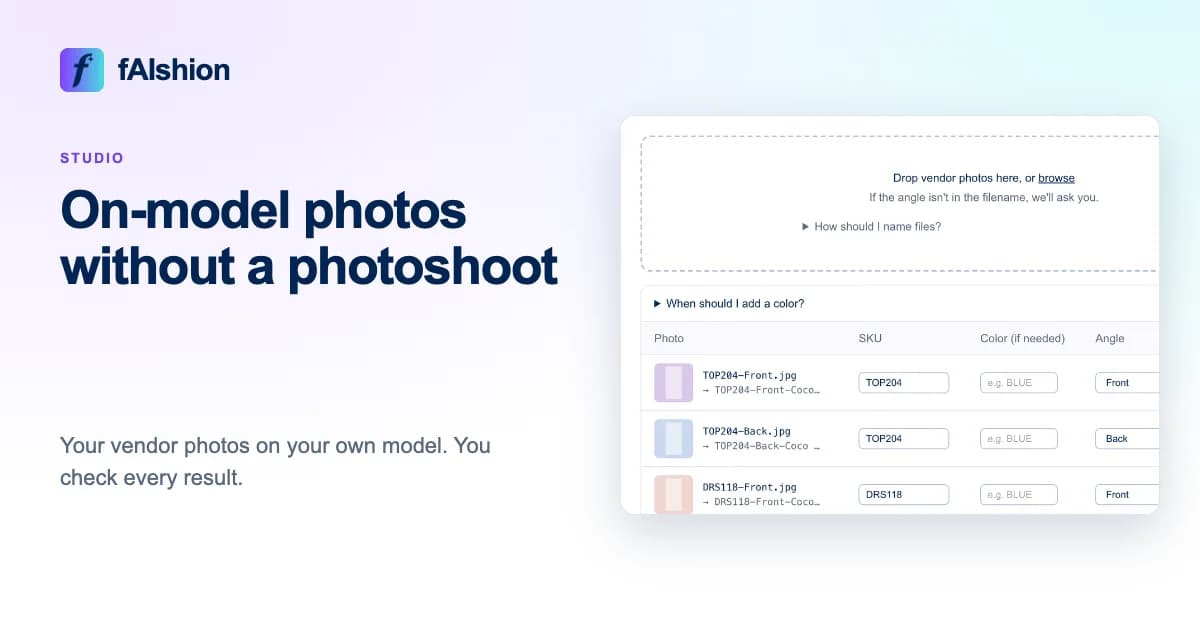
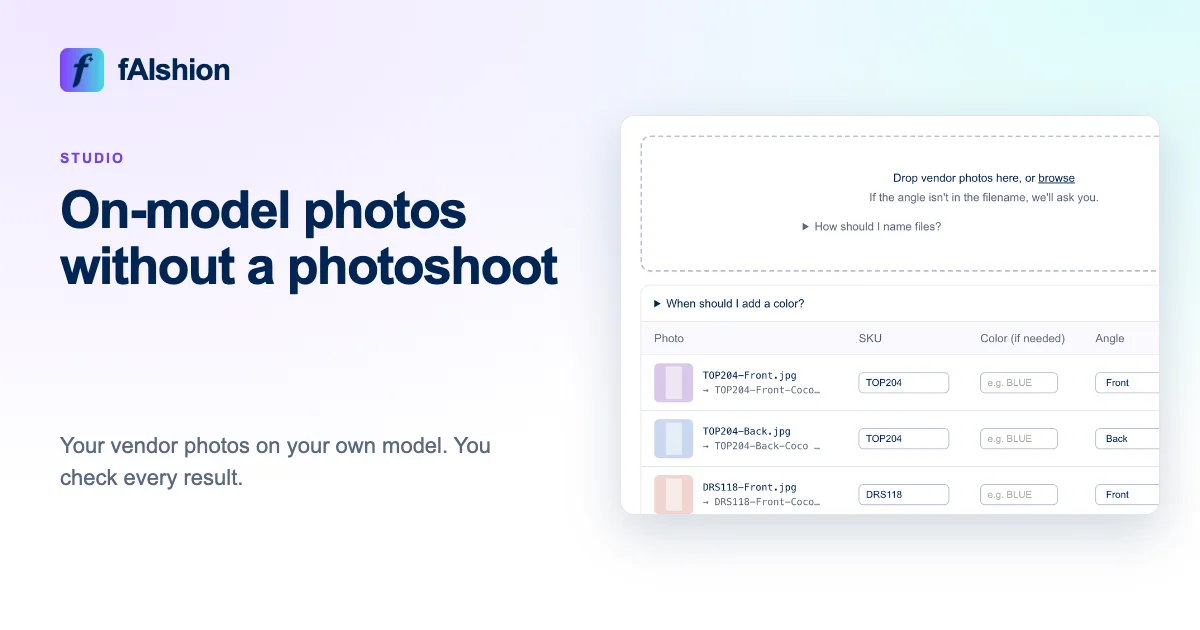
Upload a photo of your own model once for each angle, then drop the vendor's photos into Studio, and it puts each garment on your model. You check every result and send the ones you like to the matching product in your store.
 View full-size image
In short
- Upload your model photos once on the Models page, one per angle.
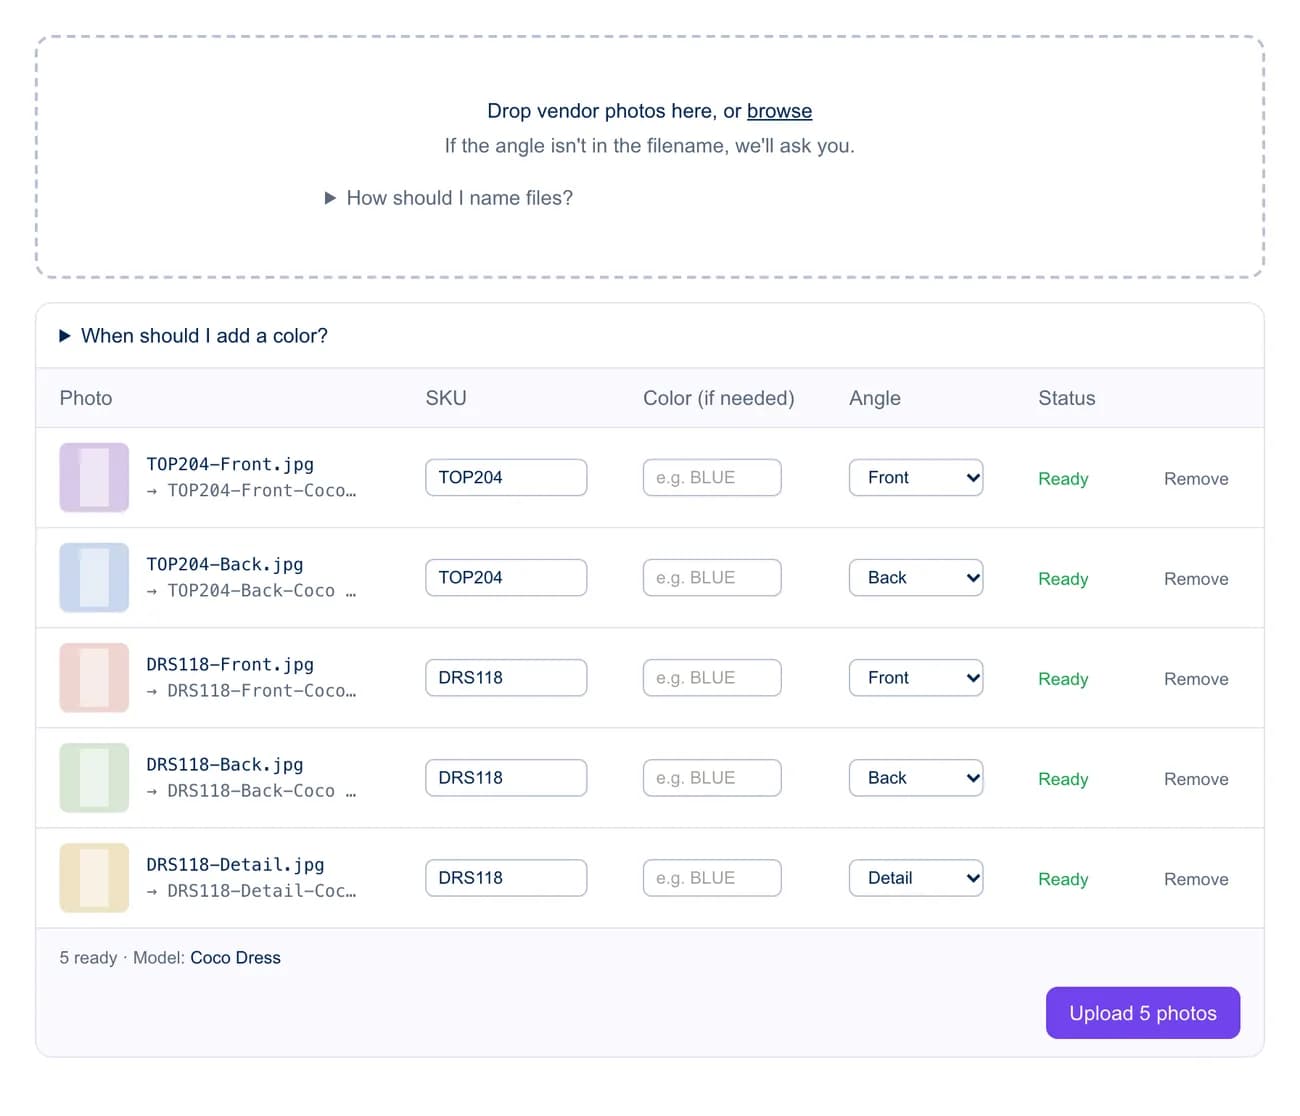
- Name the vendor photos by SKU and angle, like DRESS001-Front.jpg.
- Upload them and pick your model.
- Check each result, then add the good ones to your store.
Your model, not ours
fAIshion supplies no models. You photograph your own model once, full length against a plain background, with a Front and a Back. Name each photo yourself, like "Coco Dress", and upload it on the Models page. Every new arrival can then go on that same model.
Name the vendor photos
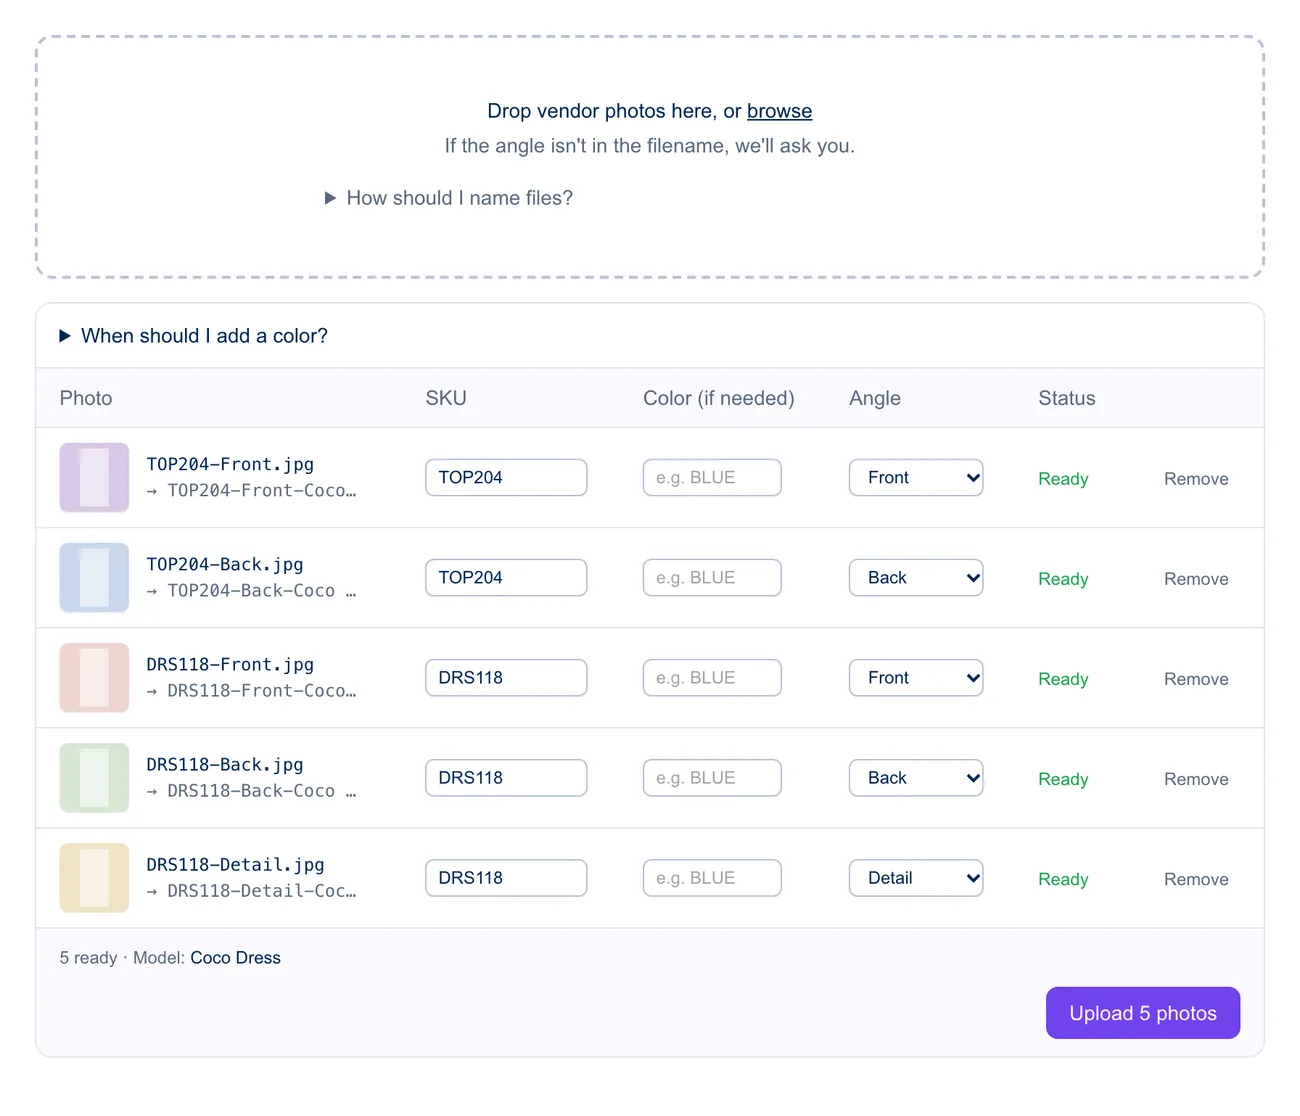
Name each vendor photo with the SKU and the angle, such as DRESS001-Front.jpg or DRESS001-Back.jpg. Studio uses the angle to match each vendor photo to your model photo of the same angle, and the results come back named with the SKU, angle and model. Use photos you have permission to use, of the exact garment and color.
Check, then add to your store
Compare each result with the vendor photo. Is the color the same? Is the print kept? Are the neckline, sleeves and hem where they should be? Remove any result you don't want.
Studio adds photos only to products already in your Shopify or CommentSold store, matched by SKU. It never creates a product. Choose Add to existing photos to keep what is there, or Replace all existing photos. Finished photos are kept for 30 days, so download anything you want to keep longer.
Keep one look across your shop
Use the same model and the same angles for every product, so new arrivals from different vendors look like one shop. Studio puts each vendor photo on your model photo of the same angle, so a Front goes on a Front and a Back on a Back.
Doing it by hand?
Book a model and a photographer for each new drop, shoot every piece, then edit and upload. Keep the same model, light, background and poses each time, or have an editor match the vendor photos to one look.
Common mistakes
- Mismatched angles. A back view on a front pose looks wrong.
- Mixing two models or two looks in one collection.
- Blurry vendor photos, which stay blurry.
- Skipping the check of color, print and length.
Add one model photo, then try one product. If your store is on Shopify, install Studio from the Shopify App Store. You pay through your Shopify bill, so there is nothing to set up with us. If you sell somewhere else, see Studio pricing.
Next, read how to check on-model photos before you publish, or start with the new arrivals checklist.